Decorating cookies is an art that turns simple baked goods into extraordinary treats. Whether you are preparing for a holiday, a special occasion, or just want to add a touch of sweetness to your day, the right cookie glaze can make all the difference. This post will guide you through the steps to create an easy, yet stunning Cookie Glaze with just a few simple ingredients.
Cookie Glaze is an easy sugar cookie icing recipe that will dry nice and hard and has a beautiful sheen to it. This sugar cookie glaze is a good replacement for royal icing as it does not contain raw egg whites and you will not need meringue powder. You do not need a hand mixer to make it, just a small whisk.
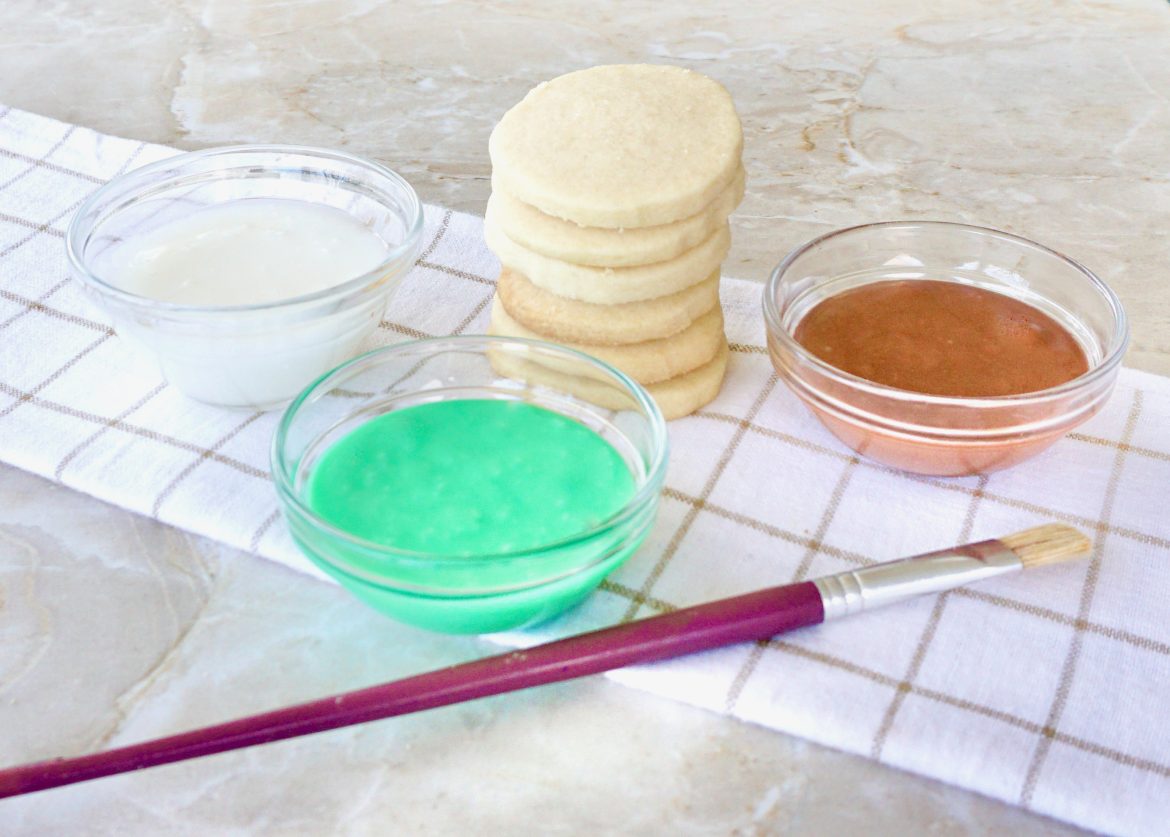
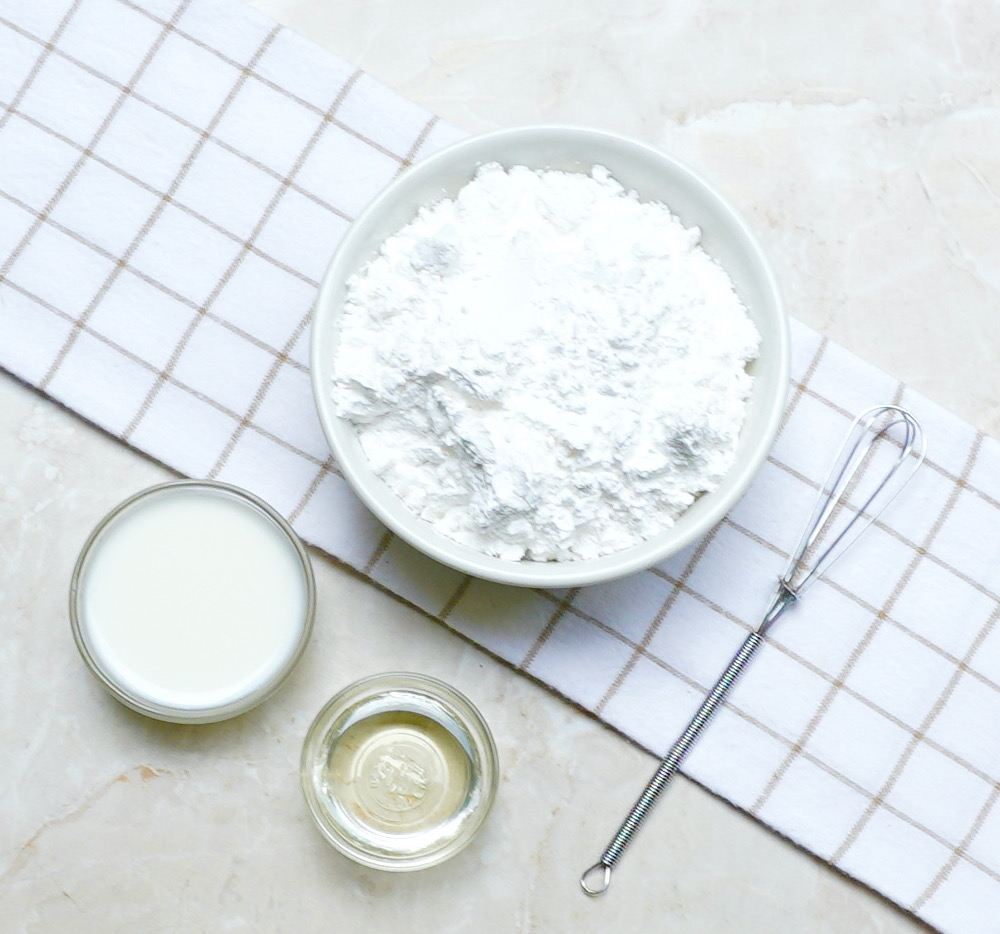
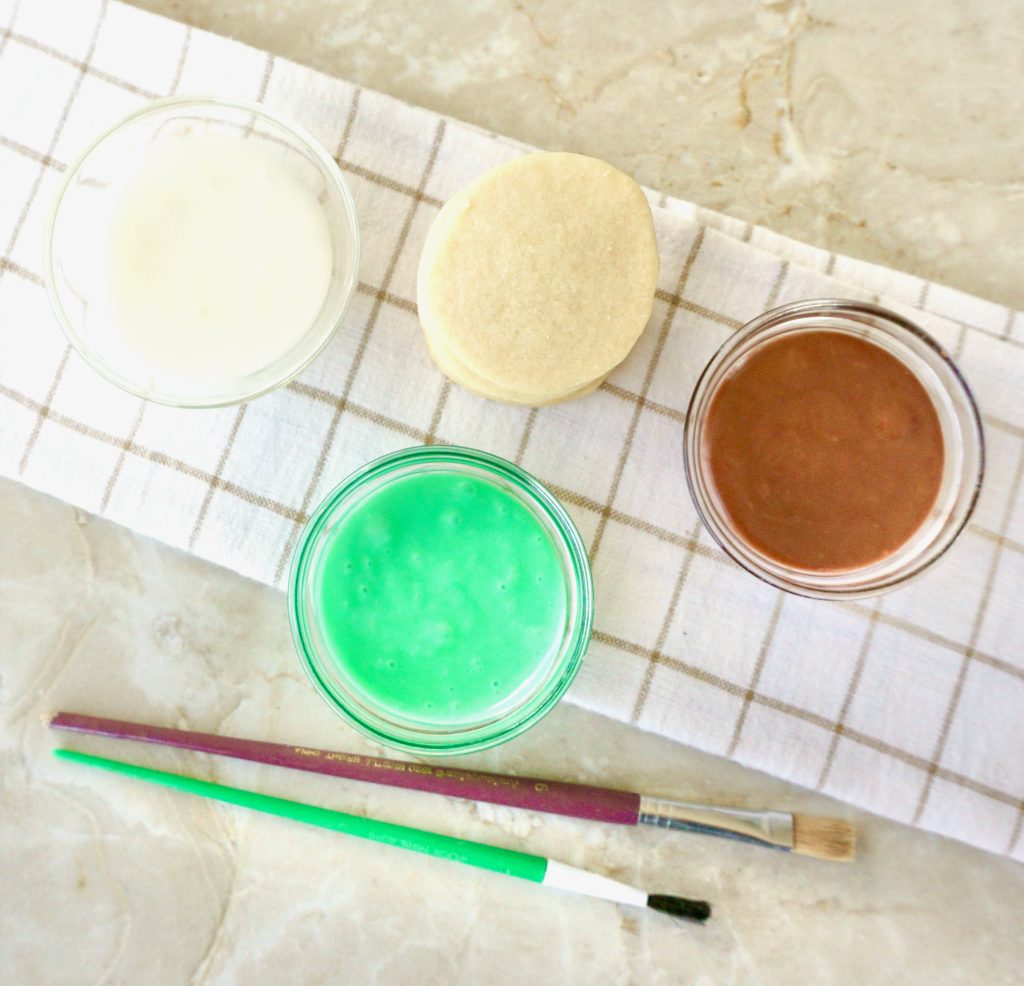
This glaze has three basic ingredients which are powdered sugar, corn syrup and milk. You can easily control the consistency by adding a little bit more milk to make it exactly the way you want. You can create a thick glaze by adding less milk or a thin icing by adding a bit of extra milk. You can also add food coloring to the white icing or a little cocoa to create a simple chocolate glaze.
This basic Cookie Glaze is also wonderful drizzled over a cake or quick breads as a simple homemade icing. This glaze is always used on Cookie Cutter Cookies which is a colored to create seasonal decorated cookies. It is pretty on Christmas Cookies and Gingerbread Cookies. Glazed cookies cut with cookie cutters are always festive and fun.
SOME THINGS TO KNOW:FAQ’S
INGREDIENT TIPS:
- Gel food colorings are recommended over liquid. Gel colors are more concentrated so you will need less to achieve vibrant colors. They also do not thin out the glaze as liquid colors can.
- The clear version of light corn syrup is preferred as it maintains the bright, true colors of your food coloring. It also adds a glossy sheen to the glaze, making your cookies visually appealing. Read about The Types of Corn Syrup.
SPECIAL EQUIPMENT NEEDED:
- Mixing Bowls: You will need a medium sized mixing bowl for preparing the glaze. If you plan to make multiple colors, have several smaller bowls ready to divide the glaze and mix in the coloring.
- Whisk or Spoon: A whisk or spoon is needed for mixing the ingredients together. A whisk is particularly useful for achieving a smooth, lump-free glaze without air bubbles.
- Measuring Cups and Spoons: Accurate measurements are key to getting the right consistency and balance of flavors, so measuring cups and spoons are needed.
- Piping Bag or Ziploc Bag: For detailed decorating piping bags fitted with small round tips are very useful. If you do not have piping bags, zip-top bags with a tiny corner of the bag cut off can serve as a makeshift alternative. You can also use a plastic squeeze bottle filled with the glaze to add details.
- Toothpicks or Skewers:These are handy for adding fine details, swirling colors together, or correcting small mistakes in your decorations.
- Offset Spatula or Butter Knife: An offset spatula or a butter knife can be useful for spreading the glaze evenly over larger cookies or smoothing out the surface.
SUBSTITUTIONS:
- Depending on the brand that you buy, the sugar needed for the glaze could be labeled as powdered sugar, icing sugar, confectionary sugar of confectioners’ sugar. Any one of these can be used. They are all the same thing.
- For a richer glaze, light cream or half-and-half can be used instead of milk. You could also simply use water to thin the glaze although it will lack the richness of milk.
HOW TO STORE COOKIE GLAZE:
- After making your glaze, if you plan to use it within a few days, transfer it to an airtight container. Press a piece of plastic wrap directly onto the surface of the glaze to prevent a skin from forming. Seal the container and store it in the refrigerator for up to 1 week.
- Before using refrigerated glaze, let it come to room temperature. You might need to stir it well to restore its smooth consistency. If it is too thick, you can thin it with a small amount of milk or water, mixing thoroughly until you achieve the desired consistency.
HOW TO FREEZE COOKIE GLAZE:
- Cookie glaze can be frozen for longer storage. To freeze, place the glaze in an airtight container or a freezer safe zip-top bag. If using a bag, squeeze out as much air as possible before sealing. The glaze can be frozen for up to 3 months.
In a medium bowl, mix the confectionary sugar, corn syrup and 3 tablespoons of the milk.
Whisk together well. See if you have achieved a consistency which is fluid enough for you to spread or brush on the cookies easily. If needed, add the fourth tablespoon of milk, a little at a time until it is thin enough to do this.
Separate the glaze into small bowls if you plan on coloring it. Slowly add drops of food coloring until you have the color you want.

Cookie Glaze
Print ThisIngredients
- 2 cups confectionary sugar
- 2 tablespoons light corn syrup (clear version)
- 3-4 tablespoons milk
- Assorted food colorings for tinting
Instructions
In a medium bowl, mix the confectionary sugar, corn syrup and 3 tablespoons of the milk.
See if you have achieved a consistency which is fluid enough for you to spread or brush the glaze on the cookies easily. If needed, add the fourth tablespoon of milk, a little at a time until the is thin enough to do this.
If for some reason this is still too thick after you have added the fourth tablespoon of milk, add additional milk, a teaspoon at a time until it is the right consistency. If the glaze seems too thin, add a little more powdered sugar a teaspoon at a time until you have a thicker consistency. You want the glaze to spread easily but not be so thin that it will drip over the sides of the cookie.
Separate the glaze into small bowls if you plan on coloring it. Slowly add drops of food coloring until you have the color you want. If you are using a gel the easiest way is to insert a toothpick into the gel to get a small amount on the tip and use the toothpick to stir the gel into the glaze.
Chocolate glaze can be made by adding a teaspoon of cocoa powder to ½ cup of the glaze.
Use a small knife or paint brush to spread the glaze over the top of the cookie. Place the cookies onto a wire rack with parchment paper or wax paper underneath to catch any drips.
Let the iced cookies sit for an hour or two until the glaze is fully hardened.
Notes
This glaze must be stirred any time that it has been left to sit.

