
Red Velvet Waffles are festive and fun. Their bright red color makes them a good choice if you are looking for a breakfast recipe for special occasions.They would be perfect for Valentine’s day, Christmas breakfast or the 4th of July with some white whipped cream and blueberries.
A take on the famous cake, these fluffy red waffles have a cream cheese frosting glaze which is a nice change from the usual maple syrup. It makes them just a little indulgent and delicious sweet waffles. Waffles are so easy to make from scratch. There is no need to buy a waffle mix!
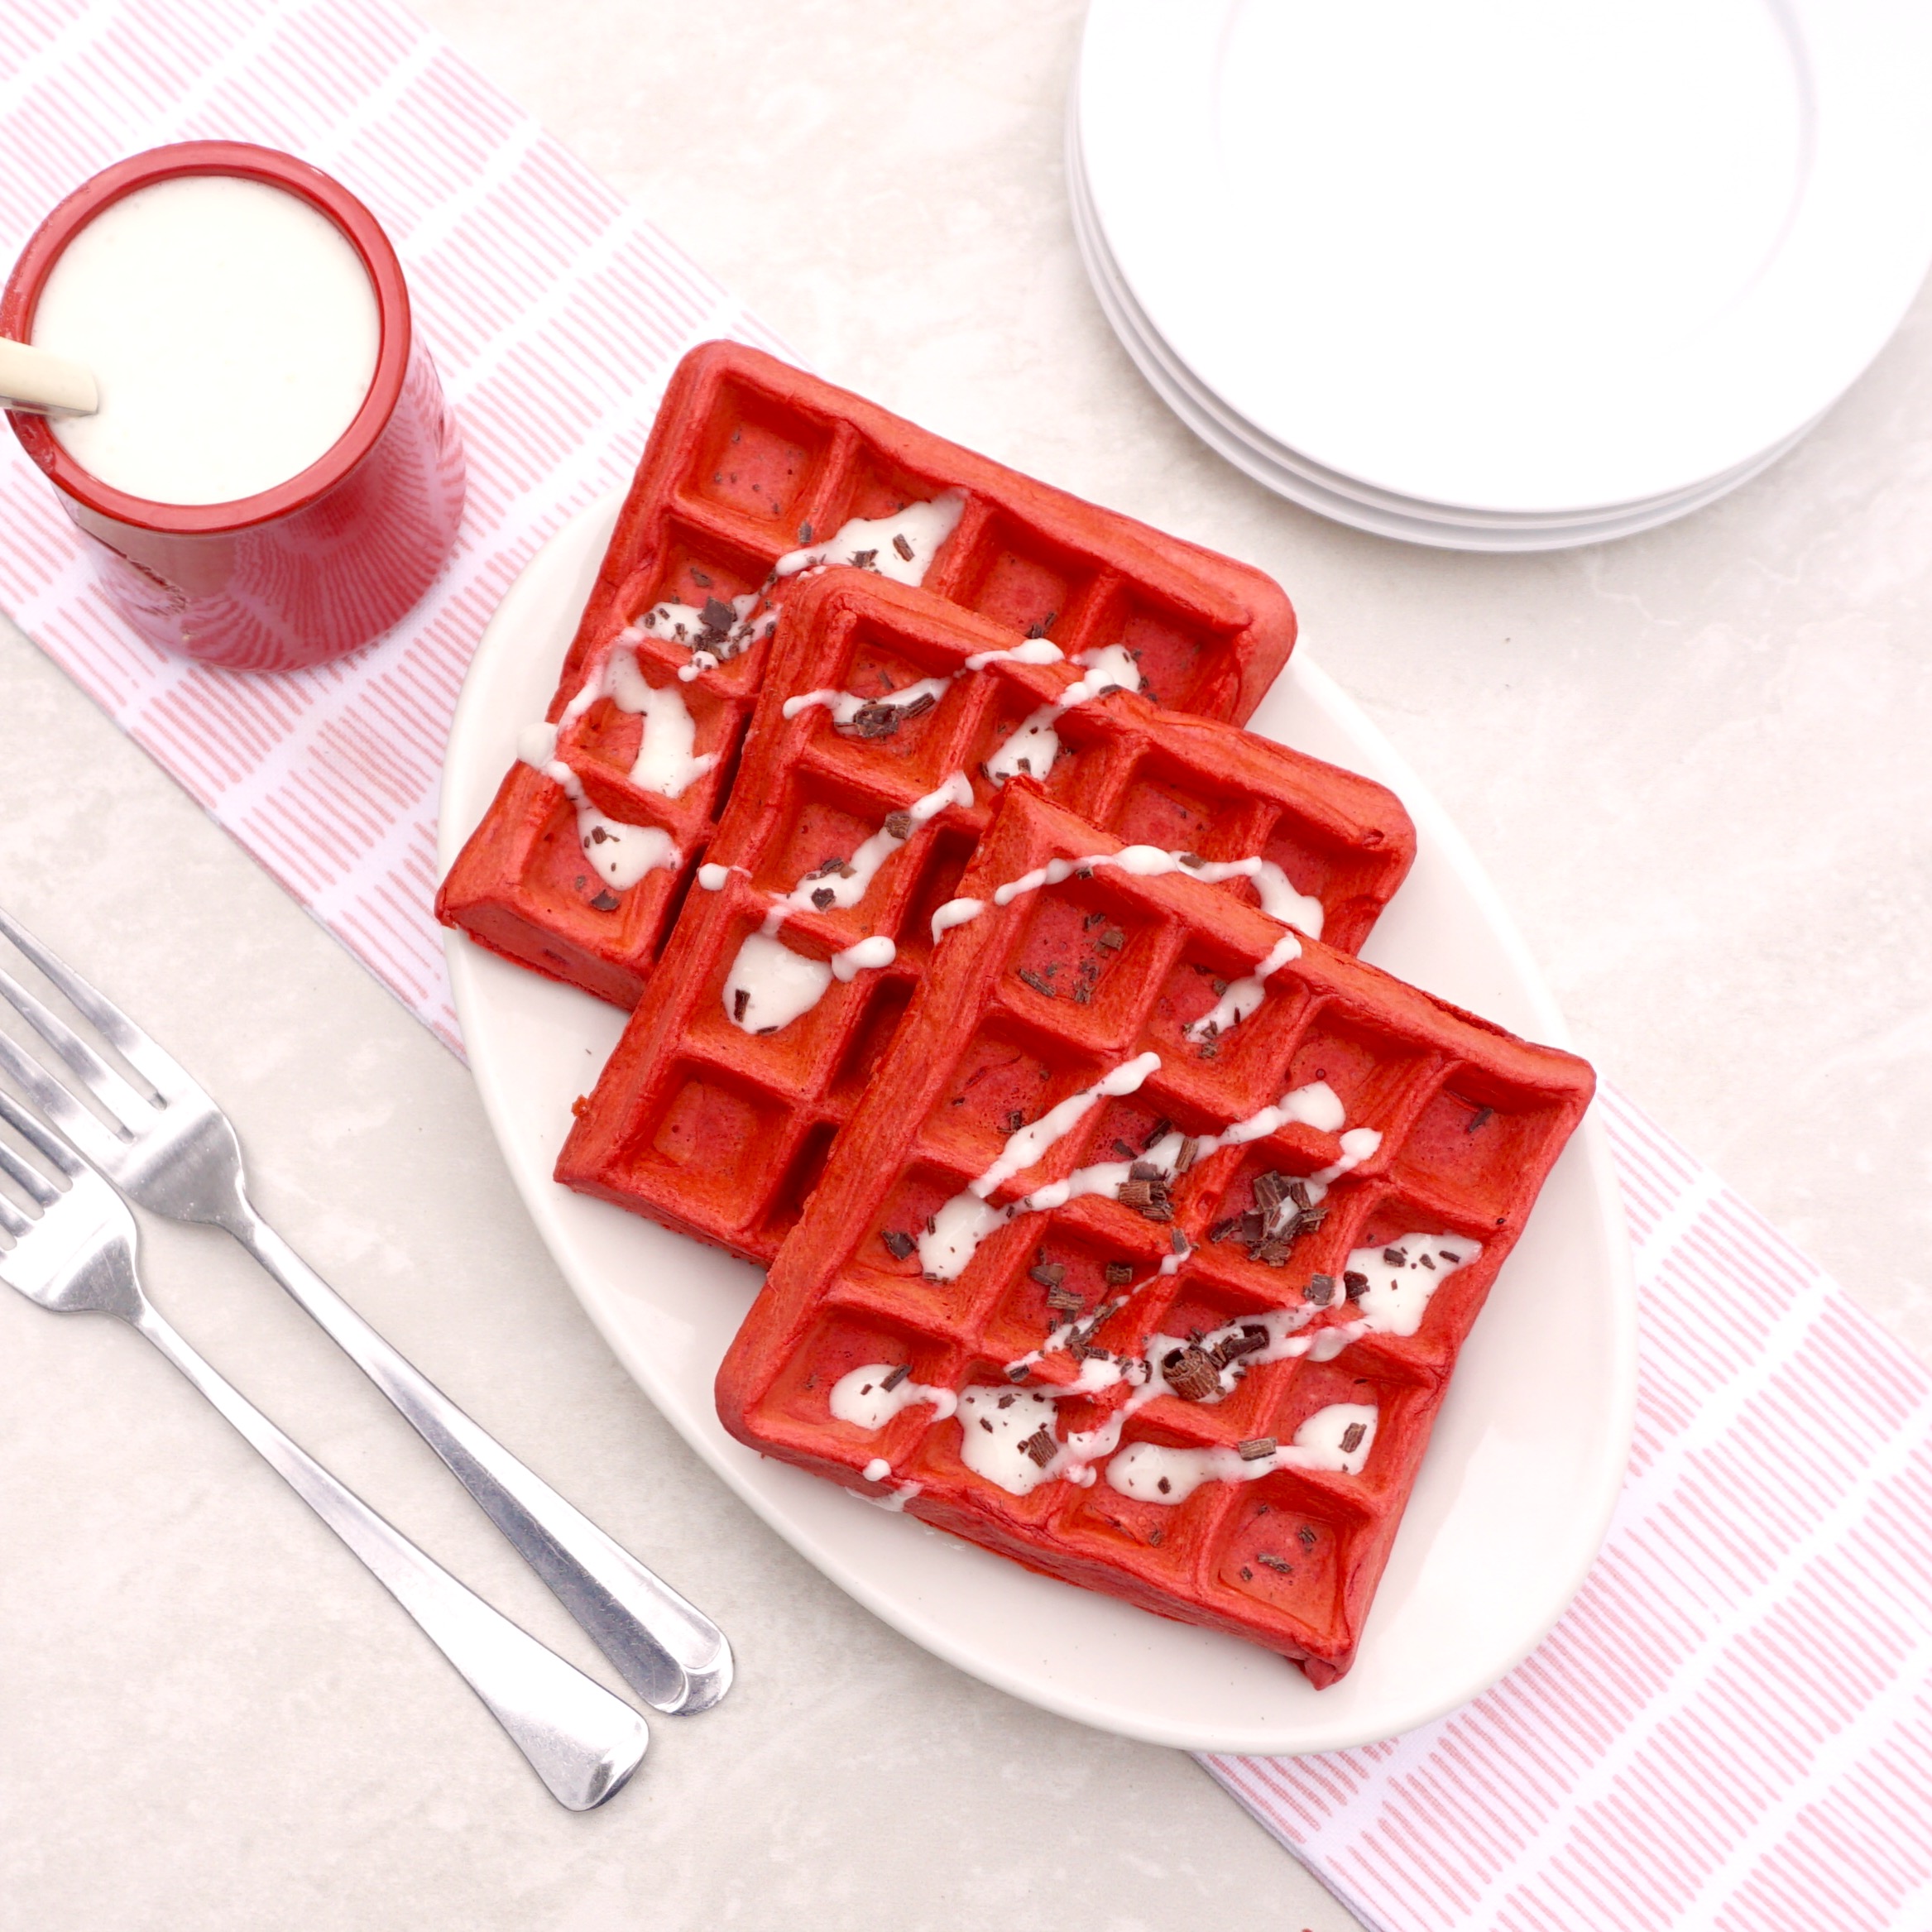
These Red Velvet Waffles have an undertone of chocolate from the hint of cocoa powder. You could sprinkle some mini chocolate chips or grated chocolate on the top if you want to make them a bit more festive for a special breakfast.
If you like this red velvet waffles recipe and want some more waffle recipes, check out Lemon Ricotta Waffles which are another fluffy waffle, Fried Chicken Waffle Sandwich, and Chocolate Waffle Ice Cream Sandwich. If you want a fun holiday waffle, check out Gingerbread Waffles.
SOME THINGS TO KNOW:FAQ’S
INGREDIENT TIPS:
- Choose a good quality unsweetened cocoa powder for the best flavor. Dutch-processed cocoa powder will give a smoother, more mellow chocolate flavor compared to natural cocoa powder, which is a bit more acidic. Read Types of Cocoa, Explained.
- Using a high-quality pure vanilla extract can significantly impact the flavor of the waffles.
- Make sure that the cream cheese is at room temperature for a smooth lump free glaze.
SPECIAL EQUIPMENT NEEDED:
- Waffle Iron: This is the most essential piece of equipment for making the waffles. Waffle irons come in various shapes and sizes, from classic round to square, or even unique designs like hearts. Choose one that suits your preference.
- Mixing Bowls: You will need two mixing bowls. One is needed for the dry ingredients and another for the wet ingredients.
- Whisk: A whisk is necessary for thoroughly combining the dry ingredients and for mixing the wet ingredients.
- Measuring Cups and Spoons: Accurate measuring tools are needed for the correct ratios of ingredients, especially in baking. Make sure that you have a set that includes measurements for both liquids and solids.
- Electric Mixer (Optional): While not essential, an electric mixer can be very handy for making the glaze, especially to ensure that the cream cheese and powdered sugar are well combined without lumps.
- Rubber Spatula: A spatula will help you fold the ingredients together and scrape the batter out of the bowl efficiently.
- Ladle or Cup: This is for pouring the batter into the waffle iron. A ladle or a cup with a spout makes it easier to control the pour and distribute the batter evenly.
- Non-Stick Spray or Brush and Oil/Butter: To ensure that the waffles do not stick to the iron, you will need either non-stick spray or a brush to apply a thin layer of oil or melted butter to the waffle iron.
SUBSTITUTIONS:
- You can replace the canola oil with vegetable oil, grapeseed oil or melted butter.
- Powdered sugar and confectioners’ sugar are the same thing. You can use either one to make the glaze.
- Any plant-based milk like almond, soy, or oat milk can be used as a dairy free alternative to the whole milk. For a richer texture you can use buttermilk.
- If you prefer, you can use light brown sugar for a deeper flavor than the granulated sugar.
HOW TO STORE LEFTOVER RED VELVET WAFFLES:
- You can store the leftover red velvet waffles in the refrigerator for up to 3 days. Let the waffles cool completely after cooking. This prevents condensation from forming, which could make them soggy. Place them into an airtight container or a resealable plastic bag and store them in the refrigerator.
- Red Velvet Waffles can be frozen for up to 3 months. Make sure that the waffles are completely cool before freezing them to prevent ice crystals from forming. Place the waffles into airtight containers or resealable freezer bags. Be sure to remove as much air as possible from the bags to prevent freezer burn.
HOW TO REHEAT RED VELVET WAFFFLES:
- A toaster or toaster oven is ideal for getting the waffles crisp and warm. Just put the frozen or refrigerated waffles into the toaster or toaster oven and heat them until they are warm and crisp.
- To reheat the red velvet waffles in the oven, preheat the oven to 350°F (175°C). Place the waffles onto a baking sheet and heat them for about 10 minutes (for refrigerated) or 15-20 minutes (for frozen) or until they are thoroughly warmed and crispy.
- Reheating the waffles in the microwave will not keep them crispy but it is a quick way to warm them. Heat refrigerated waffles for about 20-30 seconds and frozen ones for about 1-2 minutes on a microwave safe plate covered with a paper towel. . Be careful not to overheat them as they can become rubbery.

In a large bowl, combine the flour, cocoa, baking powder, salt and sugar.

In a medium bowl, beat the eggs. Mix in the milk, canola oil, food coloring and vanilla extract.

Add the wet ingredients into the dry ingredients. Combine well.

Preheat your waffle maker. Spray the waffle maker with nonstick cooking spray.Spoon or pour the batter evenly into the waffle maker, filling the entire form but not overflowing.

Close the lid and cook waffles until they are risen and are firm. Cook times will vary depending on the size of the waffles that your waffle maker makes.

Using an electric mixer or whisk, beat the cream cheese until it is fluffy. Add the powdered sugar, vanilla and milk. Mix together well.

Red Velvet Waffles
Print This
Ingredients
- WAFFLES:
- 1 ½ cups all purpose flour
- 1 tablespoon cocoa powder
- 2 teaspoons baking powder
- ½ teaspoon kosher salt
- 1 tablespoon granulated sugar
- 2 large eggs
- ½ cup whole milk
- ⅓ cup canola oil
- 1 tablespoon red food coloring
- 1½ teaspoons vanilla extract
- GLAZE:
- 4 ounces cream cheese, room temperature
- 1 cup powdered sugar
- 1 teaspoon vanilla extract
- ¼ cup whole milk
Instructions
WAFFLES:
Preheat the oven to 200 degrees if you will need to keep the waffles warm while you are cooking the rest.
Preheat your waffle maker.
In a large bowl, combine the flour, cocoa, baking powder, salt and sugar.
In a medium bowl, beat the eggs. Mix in the milk, canola oil, food coloring and vanilla extract.
Add the wet ingredients into the dry ingredients. Combine well.
Spray waffle iron with nonstick cooking spray.
Spoon or pour batter evenly into the waffle maker, filling the entire form but not overflowing.
Close the lid and cook waffles until they are risen and are firm. Cook times will vary depending on the size of the waffles that your waffle maker makes.
Keep the cooked waffles warm on a baking sheet in the preheated oven until you have cooked all of the remaining batter.
GLAZE:
Using an electric mixer or whisk, beat the cream cheese until it is fluffy. Add the powdered sugar, vanilla and milk. Mix together well.
Serve the waffles with the cream cheese drizzle on the side.